252

What to pack for hiking Helvellyn?
In addition to the list in the ‘What to Wear’ section, we also suggest packing the below:
- Spare hiking socks (there’s nothing worse than getting wet feet!).
- (Optional) A spare t-shirt.
- (Optional) Hiking poles – you don’t need them from a technical standpoint. But depending on your knees you want some extra support.
- (Optional) Knee supports (as above).
- Hat / sunglasses / SPF. There is no shelter along the route of summit and you’re pretty exposed to the elements. If the weather is nice you’ll want lots of sun protection!
- 2L water (we used our hydration bladders which we found really helpful for on-the-go sipping).
- Waterproof pad. We have these folding sit mats which came in very handy when stopping for lunch.
- (Optional) Action camera / GoPro.
- Battery pack to charge your phone if needed.
- Good sized hiking bag.
- Carrier bag for your rubbish! We use biodegradable small caddy liners.
- Lunch and snacks. We chose to bring:
- Homemade wraps, with veggie “chicken” goujons, mashed up falafel, and Nandos spicy mayo

- Banana
- Protein bars
- Granola snack bars
- Candy kittens
- Protein yogurt pouch
- Lucozade (optional)
- Homemade wraps, with veggie “chicken” goujons, mashed up falafel, and Nandos spicy mayo
What to wear?
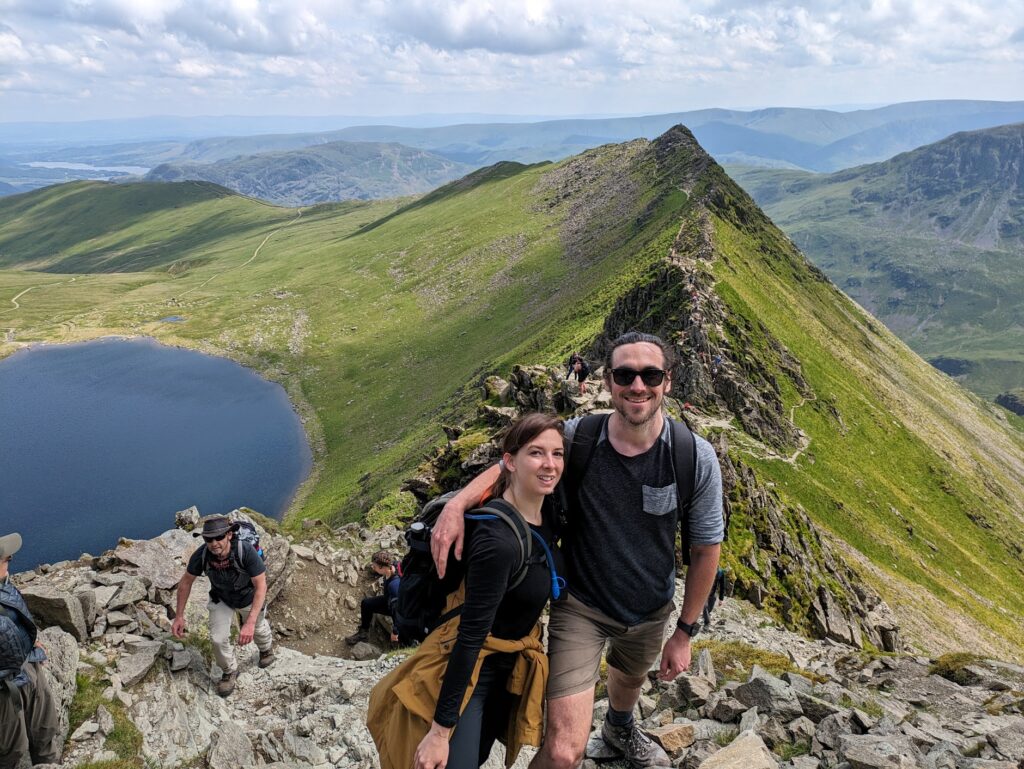
When hiking Helvellyn you remain very exposed to the elements. Each of the mountains can also hold their own micro-climates meaning the weather can change at a moments notice. Packing easy layers will be your friend on this hike:
- Base layer
- Lightweight T-shirt
- Fleece
- Rain jacket
- Shorts / hiking trousers
- Hiking socks
- Hiking boots (with good ankle support)
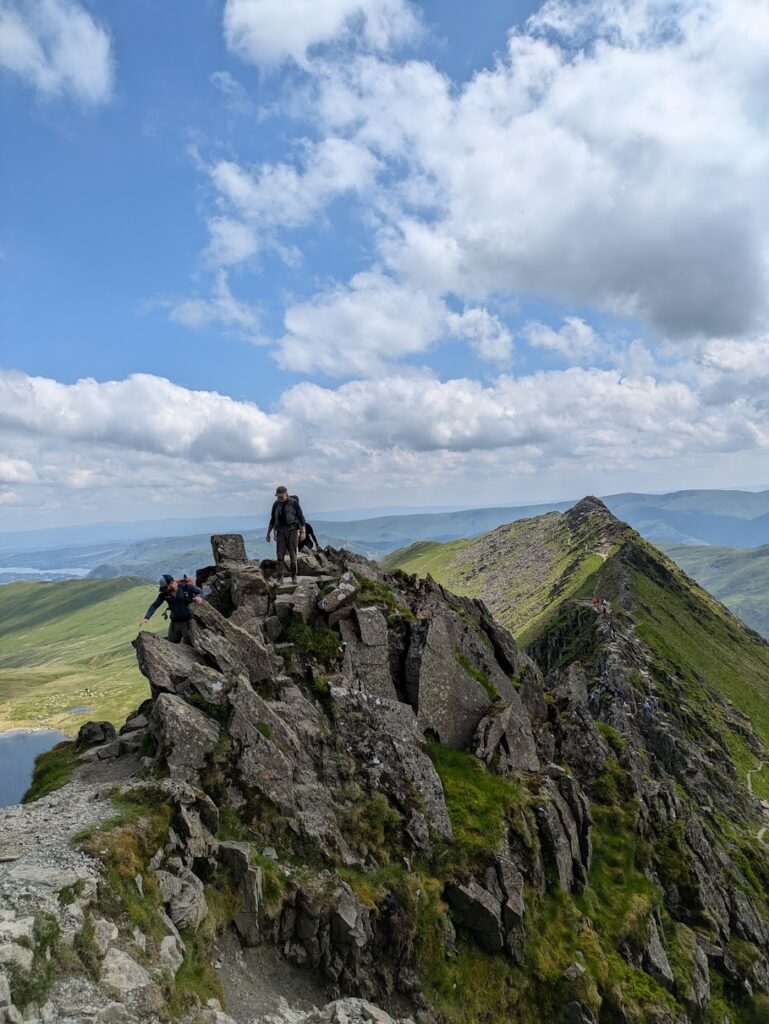
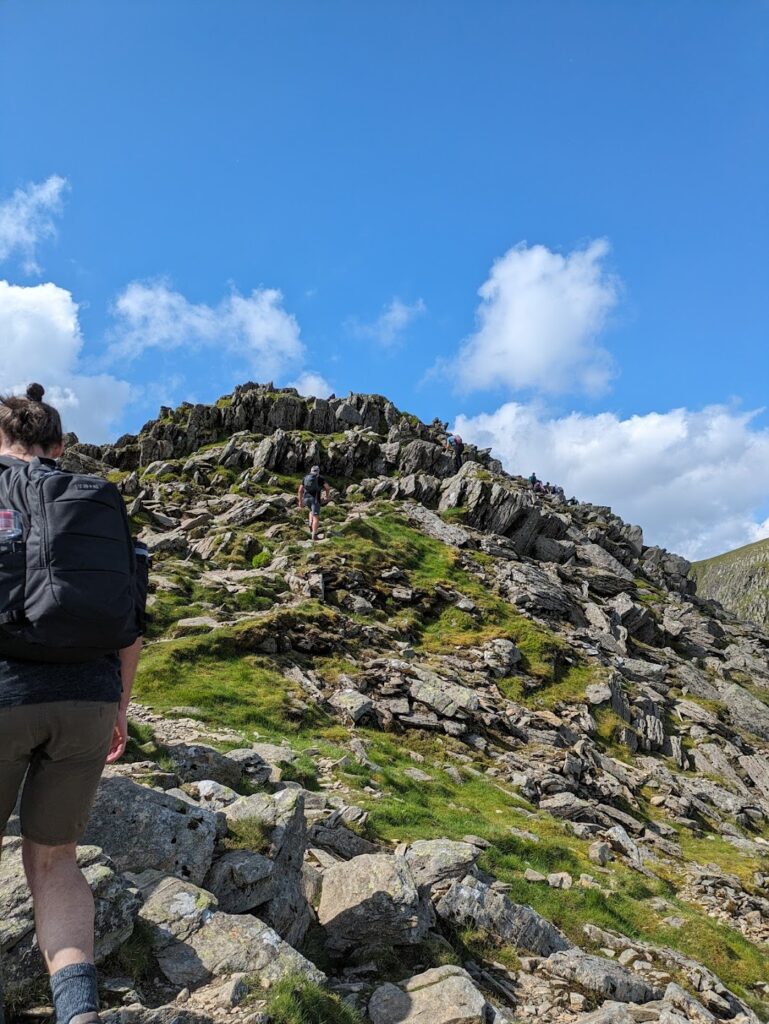
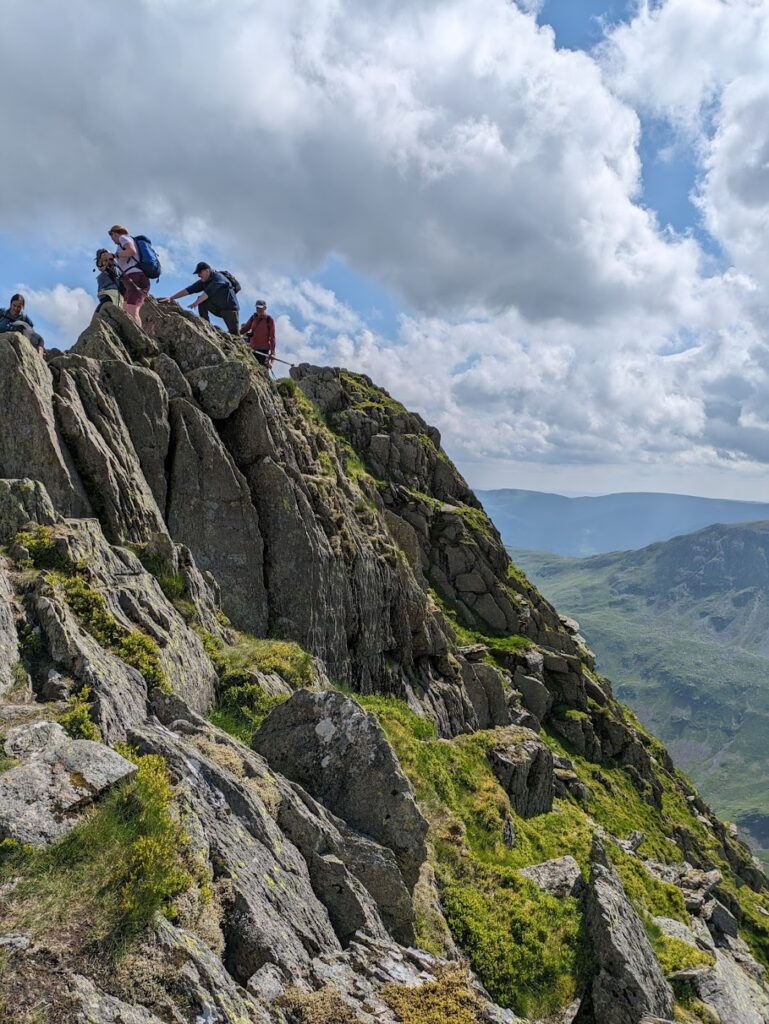
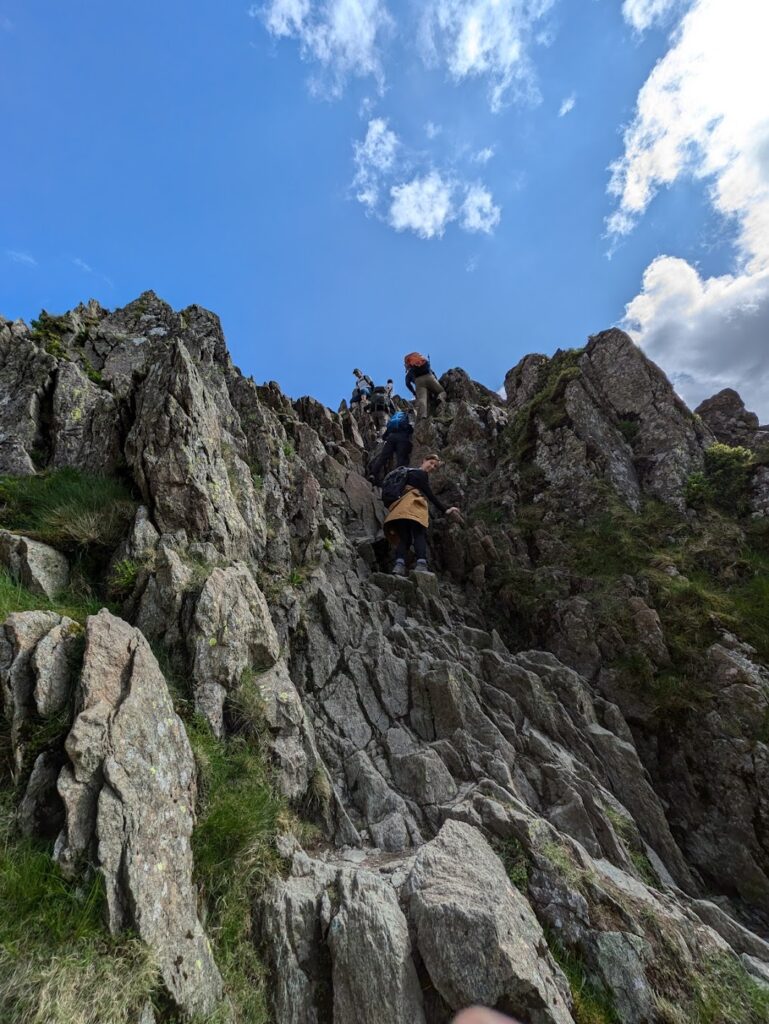
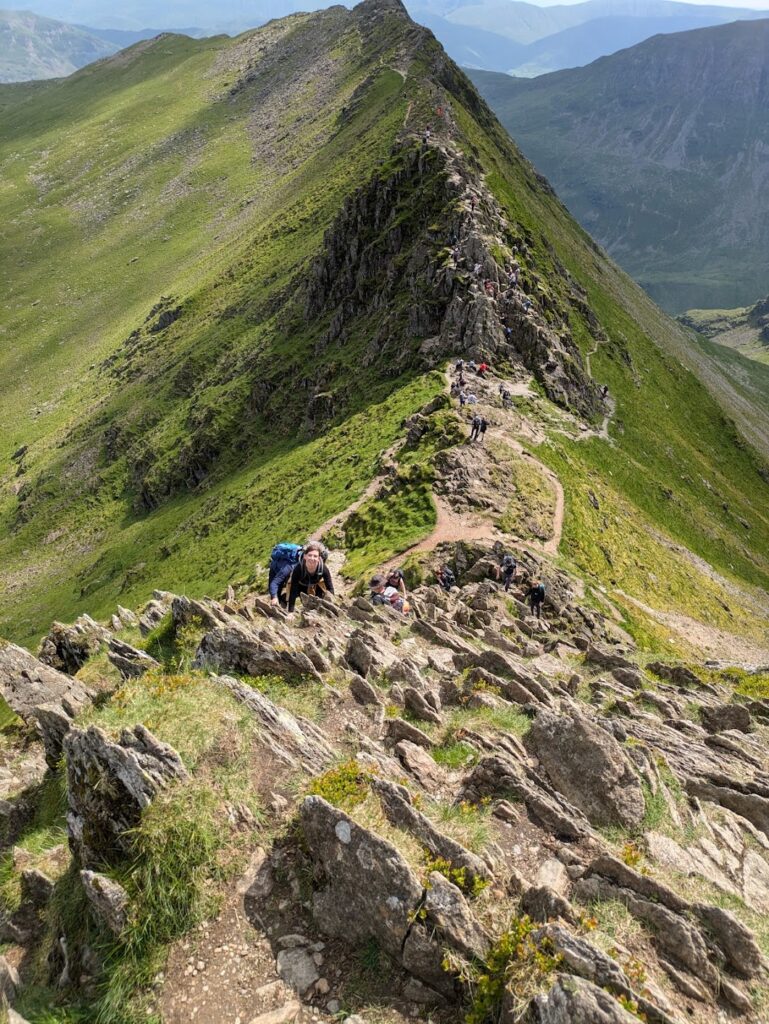
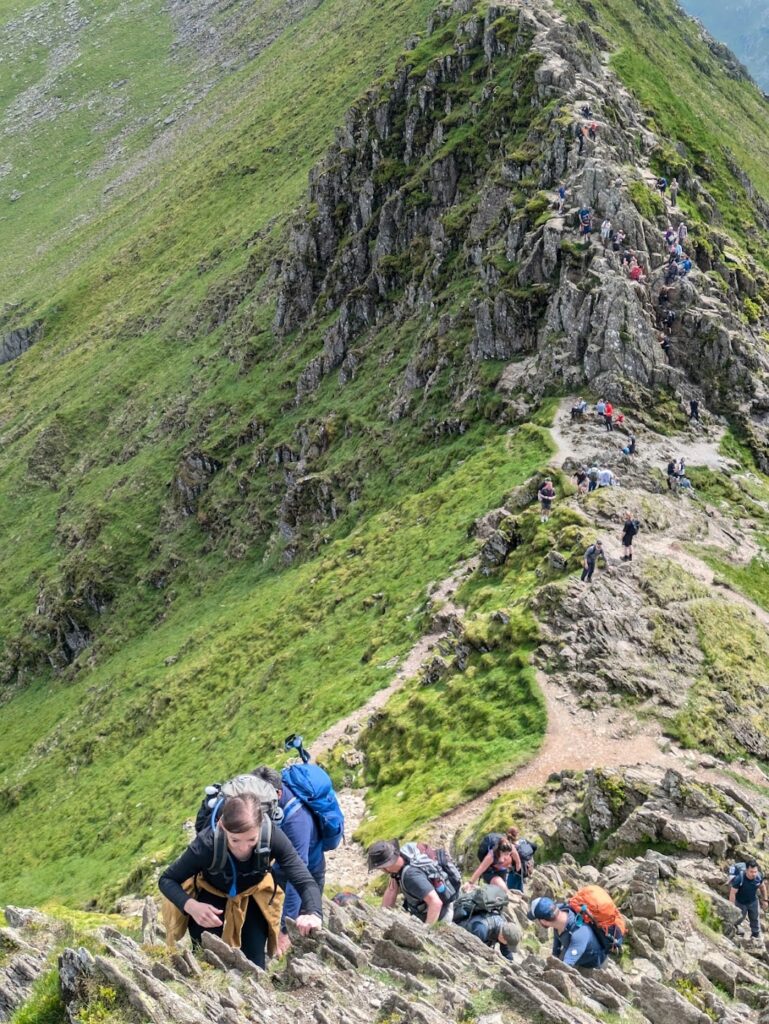
What is a grade 1 scramble?
Routes in the UK are graded 1 – 3, with grade 1 routes being the easiest and grade 3 being the most challenging.
A grade 1 scramble means there will likely be some steep sections, where you will need to use your hands to progress. The route may also be slightly exposed, but ropes are not required for a grade 1.